
 |
| Image by Ashley Ann |
 |
| Image by Christine Chitnis |
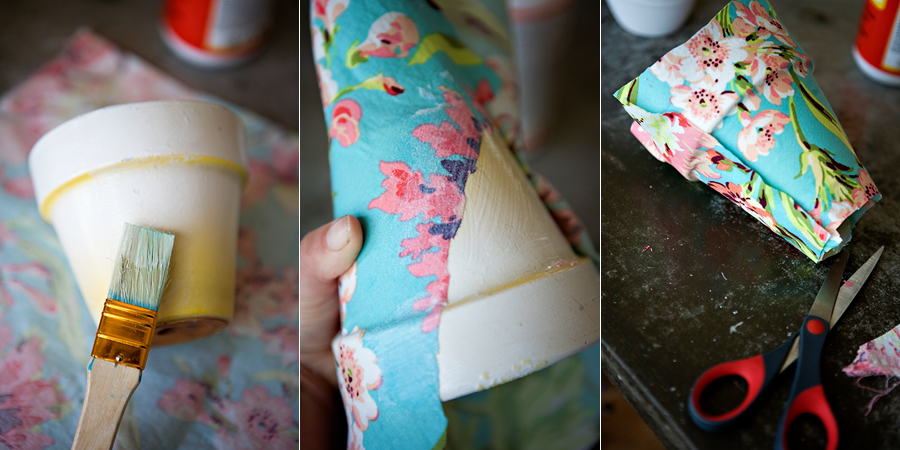
Materials:
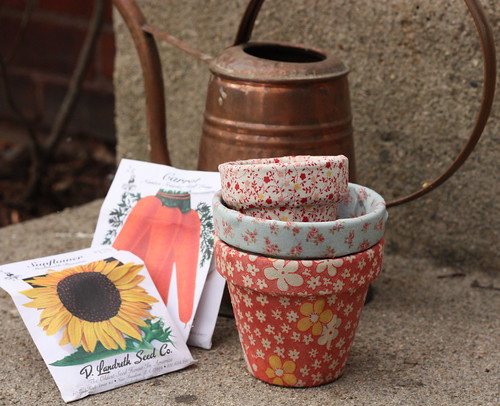
Terracotta pots
Mod Podge
Brush
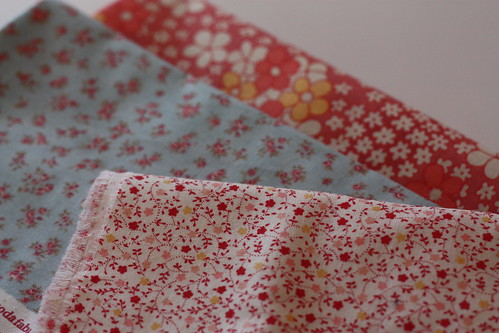
Fabric
Directions:
- Start by cutting a length of fabric that will wrap once around your pot. Leave extra room for folding it over on the top and bottom.
- Cut slits in the fabric around the top, to avoid puckering as you make your way around.
- Begin by coating a small section of the pot with Mod Podge.
- Stick the beginning of your fabric length to the pot and once it is in place
- Coat the fabric with Mod Podge.
- Continue doing this all the way around, without worrying about the top or bottom of the pot.
- When the outside of the pot is finished, trim your fabric so that less than an inch hangs over the top and bottom.
- Begin at the top, folding the fabric into the pot in pleats so that it lays nice and flat around the rim.
- Coat in Mod Podge.
- Do the same for the bottom, folding the fabric in pleats so that the bottom edge of the pot remains smooth.
- Coat any loose flaps of fabric with Mod Podge.
- Let your pot dry.
No comments:
Post a Comment